Steel Roof Installation: Expert Guide for Lasting Results
Steel roofing has become a preferred choice for property owners seeking durability, longevity, and weather resistance. The material's exceptional strength-to-weight ratio, fire resistance, and ability to withstand extreme weather conditions make it particularly valuable for both commercial and residential applications. However, the performance and lifespan of any steel roof depend heavily on proper installation techniques. Steel roof installation requires specialized knowledge, precision, and attention to detail at every stage. Understanding the critical steps, common challenges, and industry best practices helps ensure your investment delivers decades of reliable protection while maintaining structural integrity and aesthetic appeal.
Understanding Steel Roofing Systems and Material Selection
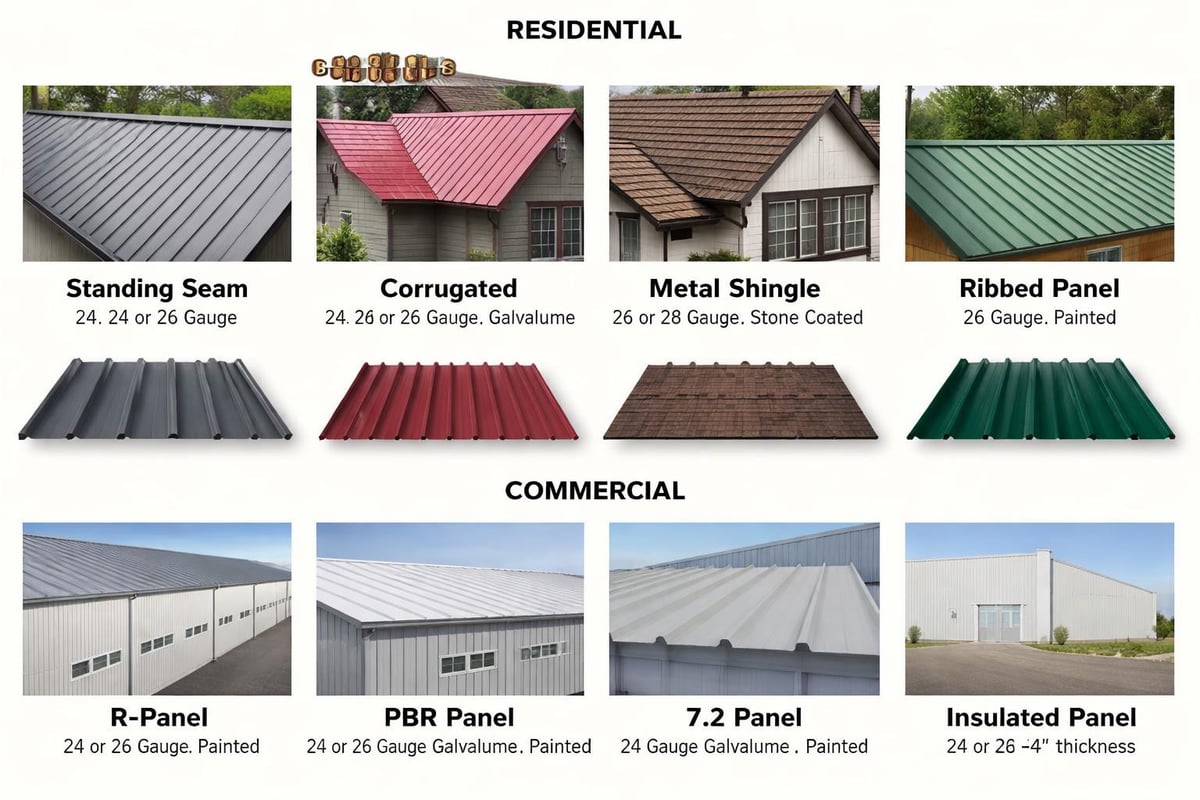
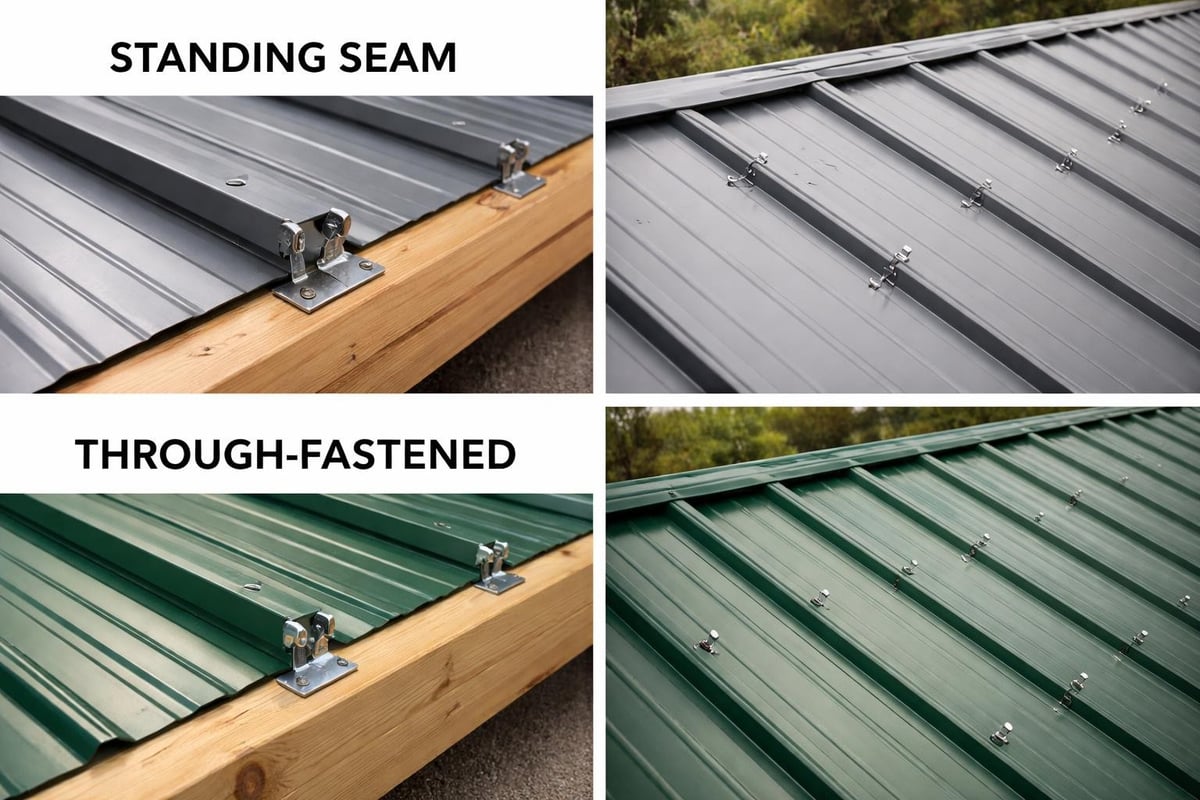
Steel roofing comes in several configurations, each designed for specific applications and performance requirements. Standing seam systems feature concealed fasteners and vertical legs that interlock, creating a weather-tight barrier ideal for low-slope applications. Through-fastened panels use exposed screws with rubber washers and work well for steeper pitches where water runoff is more aggressive.
The gauge of steel significantly impacts performance. Lighter gauges like 29-gauge work for residential applications with less demanding wind loads, while commercial projects typically require 26-gauge or 24-gauge steel for enhanced strength and puncture resistance. Coating systems also vary considerably:
- Galvanized steel provides zinc coating for corrosion protection
- Galvalume combines aluminum and zinc for superior rust resistance
- Painted finishes add UV protection and color options
- Stone-coated steel offers traditional appearance with metal durability
Selecting the appropriate system requires evaluating building structure, local climate conditions, budget parameters, and aesthetic preferences. The Building America Solution Center’s metal roof guide provides comprehensive information about material selection and performance characteristics that help property owners make informed decisions.
Pre-Installation Planning and Substrate Preparation
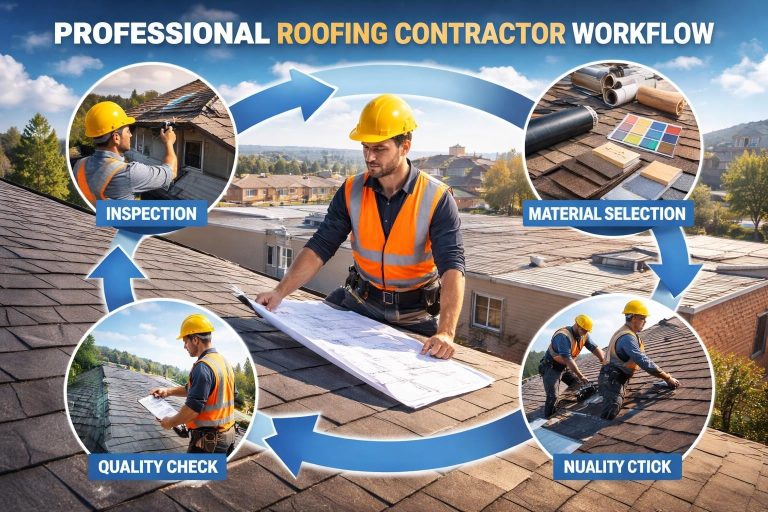
Successful steel roof installation begins long before the first panel arrives on site. Thorough planning prevents costly delays and ensures optimal performance throughout the roof's lifespan. This phase includes accurate measurements, structural assessment, material ordering, and crew coordination.
Structural Assessment and Load Calculations
Every building must support the additional weight of the new roofing system. Licensed professionals should evaluate the existing structure to verify it can handle the dead load of panels, underlayment, and flashing plus live loads from snow accumulation, maintenance personnel, and equipment. Buildings with marginal capacity may require reinforcement before proceeding.
Measurement and Material Ordering
Precision measurements determine panel lengths, trim quantities, and fastener requirements. Professional installers measure multiple times across different roof sections to account for building irregularities. Ordering panels in exact lengths minimizes waste and reduces on-site cutting, which can compromise protective coatings and create corrosion points.
| Planning Element | Critical Considerations | Common Mistakes to Avoid |
|---|---|---|
| Panel Measurement | Account for overhang, thermal expansion | Assuming building is perfectly square |
| Fastener Selection | Match to panel profile, substrate type | Using standard screws for all applications |
| Underlayment Choice | Consider climate, slope requirements | Skipping moisture barriers on low slopes |
| Ventilation Design | Calculate airflow needs, ridge vent sizing | Inadequate intake-to-exhaust ratios |
The substrate must be clean, dry, and structurally sound before installation begins. Remove all existing roofing materials when performing tear-offs, and inspect sheathing for water damage, rot, or degradation. Replace any compromised sections to provide a solid foundation. Understanding proper framing practices ensures the substrate supports panel attachment properly.
Installing Underlayment and Moisture Protection
Quality underlayment provides critical secondary weather protection and prevents condensation-related issues. While steel panels shed water effectively, properly installed underlayment protects against wind-driven rain, ice dams, and moisture that penetrates through fastener holes or panel seams.
Synthetic underlayment has largely replaced traditional felt due to superior tear resistance, UV stability, and moisture handling. These engineered products withstand foot traffic during installation and provide extended temporary weather protection if installation delays occur. Installation proceeds from eave to ridge with overlaps specified by the manufacturer, typically six inches at horizontal seams and four inches at vertical edges.
Eave and Ice Dam Protection
Lower roof sections experience the most severe water exposure and potential ice dam formation in cold climates. Install a waterproof membrane extending at least two feet beyond the interior wall line to protect these vulnerable areas. Some jurisdictions require extended protection based on local climate data and historical ice dam patterns.
Self-adhering membranes create watertight seals around penetrations, valleys, and roof-to-wall transitions. These products bond directly to clean substrates and conform to irregular surfaces better than mechanically fastened materials. Professional installers from companies like Texcore Construction ensure proper moisture barrier installation as part of comprehensive roof system assembly.
Panel Layout and Fastening Techniques
Proper panel installation requires attention to alignment, spacing, fastening patterns, and thermal movement accommodation. Steel roof installation quality shows immediately in panel alignment and long-term in weather performance and coating integrity.
Establishing Reference Lines
Begin by snapping chalk lines parallel to the eaves to guide panel placement. Steel roofs amplify even minor alignment errors, making initial setup critical. Many installers start panels on the side opposite prevailing weather to ensure water flows over panel overlaps rather than against them.
Standing seam systems use concealed clips that attach to the substrate and grip panel legs, allowing panels to expand and contract with temperature changes. Clip spacing follows manufacturer specifications, typically 12 to 24 inches on center depending on wind loads and panel profile. The standing seam installation best practices guide details proper clip placement and panel seaming techniques.
Through-fastened panels require precise fastener placement to prevent leaks and maintain coating integrity. Key considerations include:
- Fastener spacing: Follow manufacturer specifications, typically every valley for corrugated panels
- Penetration angle: Drive screws perfectly perpendicular to prevent gasket failure
- Torque control: Compress gaskets without overtightening
- Placement: Fasten through panel high points where water doesn't accumulate
Thermal movement creates significant stress in long panel runs. Steel expands and contracts with temperature changes, and restricting this movement causes oil-canning, fastener failure, and coating damage. Standing seam systems accommodate movement through floating clips, while through-fastened panels require proper fastener selection and pattern adjustments.
Flashing Installation and Penetration Details
Flashing creates watertight transitions at roof edges, penetrations, valleys, and wall intersections. These components often determine whether a roof performs reliably or develops chronic leaks. Steel roof installation quality is frequently judged by flashing workmanship and attention to detail.
Ridge and Hip Flashing
Ridge caps seal the roof peak while providing essential ventilation. Most installations use vented ridge caps with foam closures at panel profiles to prevent pest entry while allowing air circulation. Proper installation involves:
- Installing closure strips along both sides of the ridge
- Positioning the ridge cap centered over the peak
- Fastening through panel high points into structural members
- Overlapping sections in the direction opposite prevailing wind
- Sealing end caps to prevent water intrusion
Valley flashing handles concentrated water flow and requires especially careful installation. Use pre-formed valley flashing wide enough to extend under panels on both sides. Seal panel edges that contact the valley with approved sealant to prevent capillary action from drawing water underneath.
Penetration Flashing
Pipes, vents, skylights, and HVAC equipment create challenging waterproofing situations. Each penetration requires custom flashing that integrates with the panel profile and accommodates thermal movement. Pitch pans filled with sealant represent the weakest flashing method and should be avoided in favor of properly formed metal flashings.
For round penetrations like plumbing vents, use boot-style flashings with bases that match panel profiles. The upper portion should extend beneath panels while lower sections overlap the panel surface, with all edges sealed. Common installation mistakes often involve improper penetration sealing that creates immediate or future leak points.
Wall flashings require stepped or continuous configurations depending on the transition angle. These components must extend up walls at least 8 inches and shed water onto roof panels below. Proper integration with wall moisture barriers prevents water intrusion that damages interior structures.
Trim Installation and Finishing Details
Trim pieces provide finished appearance while protecting roof edges from wind uplift and water intrusion. These components include eave trim, rake edges, sidewall flashings, and transitions between roof sections. Quality steel roof installation ensures trim complements panel installation and enhances overall weather resistance.
Eave trim creates a finished edge while preventing wind from getting beneath panels. Install drip edge before underlayment application to direct water into gutters and away from fascia boards. The trim should extend beyond the fascia face to prevent water from running back against wood components.
Rake trim seals gable ends and prevents lateral water entry. These pieces overlap panel ends and fasten to rake boards or sub-fascia. Proper installation includes:
- Extending trim at least one inch beyond panel edges
- Sealing all laps with butyl tape or approved sealant
- Fastening into structural members every 12 inches
- Overlapping sections minimum four inches
| Trim Component | Primary Function | Installation Priority | Critical Details |
|---|---|---|---|
| Drip Edge | Eave water control | Before underlayment | Extend beyond fascia |
| Rake Trim | Gable end sealing | After panel installation | Seal all overlaps |
| Ridge Cap | Peak weatherproofing | Final installation step | Ensure ventilation |
| Valley Flashing | Water channeling | Before panels | Wide enough for panel overlap |
Professional crews maintain clean job sites throughout installation, immediately disposing of metal shavings and fastener packaging that can stain panels or damage protective coatings. The comprehensive installation guide from The Home Depot covers safety considerations and basic installation sequences for property owners wanting to understand the process.
Ventilation Integration and Energy Performance
Proper ventilation prevents moisture accumulation, reduces cooling costs, and extends roof system lifespan. Steel roof installation must incorporate adequate intake and exhaust ventilation matched to building size and climate conditions. Inadequate ventilation causes condensation on panel undersides, leading to corrosion, insulation damage, and structural decay.
Calculating Ventilation Requirements
Building codes typically require one square foot of net free ventilation area for every 150 square feet of attic space, with balanced intake and exhaust. Intake ventilation usually comes from soffit vents, while exhaust occurs through ridge vents, gable vents, or powered fans. Many installers increase ventilation beyond code minimums in hot climates where cooling loads dominate.
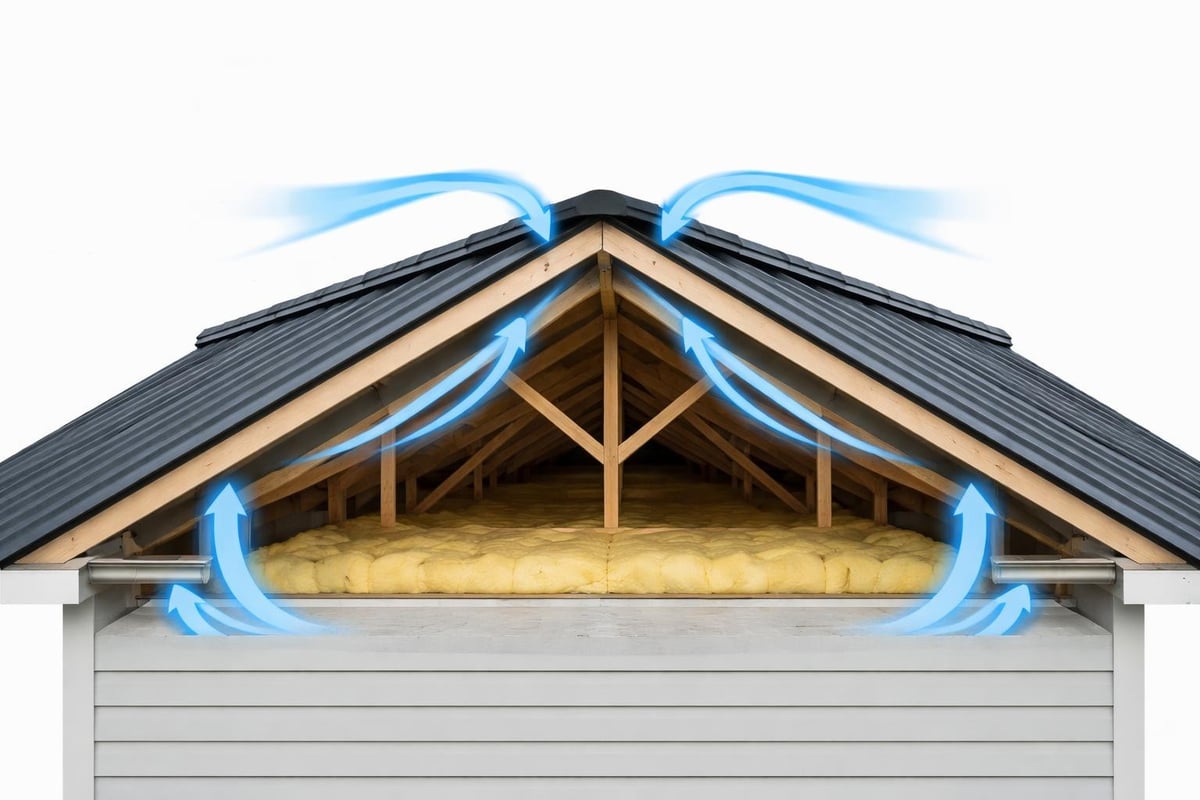
Ridge vents integrate seamlessly with steel roofing when properly installed. Use vented ridge caps with external baffles that prevent rain entry while allowing air circulation. Foam closures conform to panel profiles and prevent pest entry without restricting airflow.
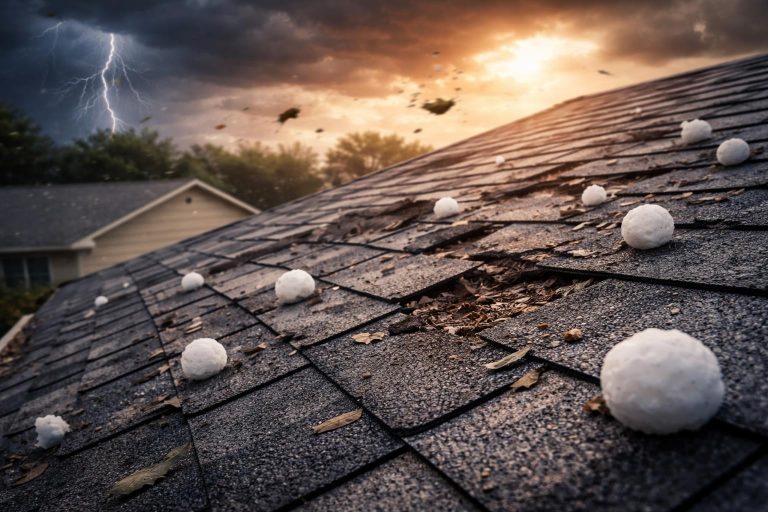
Reflective coatings and light colors significantly reduce heat absorption, lowering cooling costs and improving occupant comfort. Light-colored steel roofs can reflect 70% of solar energy compared to 20% for dark asphalt shingles. The energy savings often justify slightly higher material costs, especially in regions with extended cooling seasons.
Quality Control and Post-Installation Inspection
Thorough inspection after steel roof installation identifies any issues before they cause damage or void warranties. Professional installers perform multi-point inspections covering panel attachment, flashing integration, trim installation, and overall workmanship quality.
Critical Inspection Points
Walk the entire roof surface looking for loose fasteners, incomplete sealant application, alignment issues, and damaged coatings. Check that all fasteners penetrate structural members rather than just sheathing. Verify that sealant fills all designated locations and shows no gaps or voids.
Inspect flashing details from inside the attic or building interior when possible. Look for light penetration around penetrations, along valleys, and at wall intersections. Any visible light indicates potential water entry points requiring correction before the roof experiences weather exposure.
Document installation with photographs showing completed work, flashing details, and overall roof appearance. This documentation proves valuable for insurance claims, warranty activation, and future maintenance planning. Detailed records also help diagnose any issues that develop and verify installation met manufacturer specifications.
Maintenance Requirements and Long-Term Performance
While steel roofing requires less maintenance than many alternatives, periodic inspections and minor interventions ensure decades of reliable performance. Establishing a maintenance schedule prevents small issues from becoming expensive problems and protects the significant investment steel roof installation represents.
Annual inspections should examine fasteners for loosening, sealants for degradation, flashings for separation, and panels for coating damage. Address any issues immediately to prevent water intrusion and secondary damage. Pay particular attention to areas experiencing heavy foot traffic, around HVAC equipment, and where debris accumulates.
Keep valleys and roof surfaces clear of leaves, branches, and debris that trap moisture and accelerate corrosion. While steel resists many forms of degradation, prolonged moisture contact eventually compromises even high-quality coatings. Regular cleaning extends roof life and maintains appearance.
Warranty Considerations and Professional Support
Most steel roofing carries manufacturer warranties covering coating performance and panel integrity for 25 to 50 years. However, these warranties typically require professional installation following manufacturer specifications. Improper installation voids coverage and eliminates recourse if premature failure occurs.
Labor warranties from professional installers protect against workmanship defects. Companies backing their work demonstrate confidence in installation quality and provide accountability if issues develop. Working with established local contractors ensures support remains available throughout the roof's lifespan.
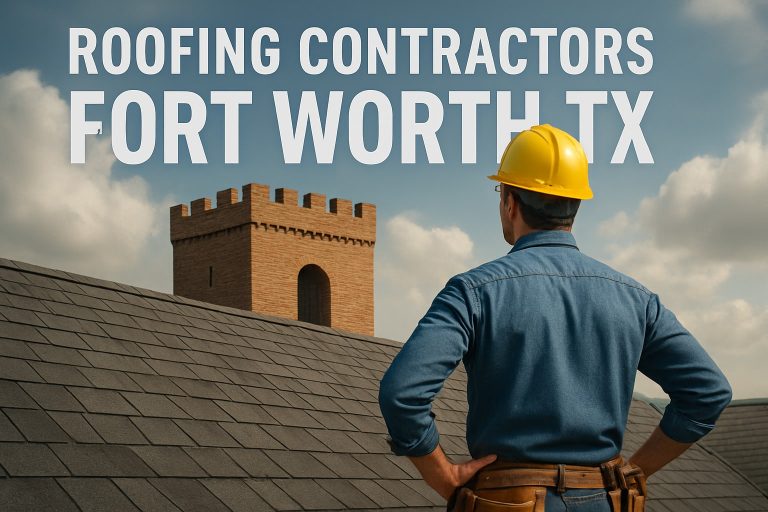
Metal roofing professionals like those at Texcore Construction understand the specific challenges Fort Worth properties face, from severe storm exposure to dramatic temperature swings. Experience with local conditions helps crews anticipate potential issues and implement proven solutions that deliver reliable long-term performance.
Advanced Installation Techniques for Complex Projects
Commercial buildings and architecturally complex residential structures require specialized steel roof installation approaches. These projects often involve multiple roof planes, significant penetrations, difficult access, and coordination with other trades.
Curved or radius applications demand panels specifically manufactured to match building contours. Standard flat panels cannot conform to curves without creating stress points and compromising weather resistance. Work with manufacturers offering custom fabrication to achieve proper fit and performance.
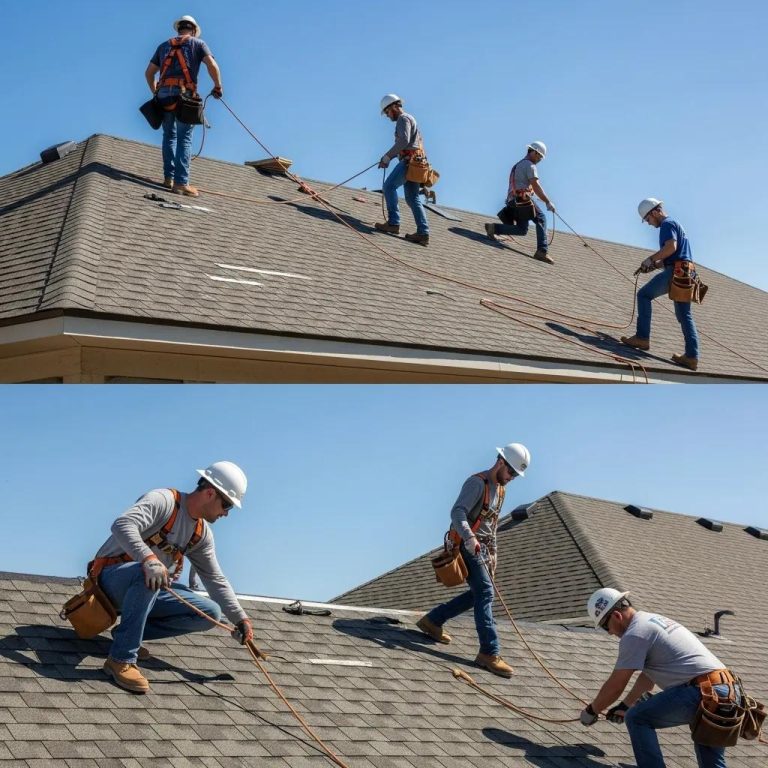
Steep slope installations require enhanced safety measures and modified installation sequences. Panels become difficult to handle and position safely on pitches exceeding 7:12. Professional crews use specialized equipment, safety harnesses, and staging systems to maintain control and prevent accidents.
The metal roof installation pro tips from METALCON cover planning considerations, moisture management, and fastening techniques that separate amateur work from professional results. These insights prove particularly valuable for complex installations requiring precise coordination and advanced techniques.
Low-slope applications present unique challenges since water sheds slowly and can penetrate even small openings. These installations typically require standing seam systems with mechanically seamed panels creating watertight barriers. Additional underlayment protection and careful flashing integration become critical for reliable performance.
Understanding steel purlin installation practices helps ensure proper structural support for panels. Accurate purlin layout, secure attachment, and proper spacing create the foundation for successful panel installation and long-term roof integrity.
Weather Considerations and Seasonal Installation Planning
Weather significantly impacts steel roof installation efficiency and quality. Understanding seasonal challenges and working conditions helps property owners and contractors plan projects for optimal results while managing expectations around timelines and potential delays.
Temperature affects sealant performance, thermal expansion calculations, and material handling. Most manufacturers specify minimum temperatures for sealant application, typically above 40°F. Cold weather makes sealants difficult to apply and prevents proper curing. Panels also contract in cold weather, requiring adjusted spacing and fastening patterns.
Hot weather creates opposite challenges. Steel panels become extremely hot in direct sunlight, making handling dangerous without proper gloves. Thermal expansion reaches maximum during afternoon hours, so morning installation when panels are cooler often produces better results. Some installers adjust panel spacing based on installation temperature to accommodate future expansion and contraction.
Precipitation obviously halts installation, but moisture concerns extend beyond active rainfall. Morning dew can make panels slippery and dangerous while preventing proper sealant adhesion. High humidity slows drying times and can trap moisture beneath underlayment if installation proceeds too quickly. Experienced crews from companies like Texcore Construction monitor weather forecasts closely and adjust schedules to work within suitable conditions.
Wind creates serious safety hazards during panel installation. Large panels act as sails, making them difficult to control and potentially pulling workers off balance. Most professional crews suspend operations when sustained winds exceed 20 mph or gusts approach 30 mph. These precautions protect both workers and partially completed installations from damage.
Cost Factors and Investment Protection
Steel roof installation costs vary based on material selection, roof complexity, building access, and regional labor rates. Understanding price components helps property owners budget appropriately and evaluate contractor proposals effectively. Focusing solely on initial costs often results in poor value when installation quality suffers or inferior materials require premature replacement.
Material costs fluctuate with steel prices, coating technology, and panel profiles. Standing seam systems typically cost more than through-fastened options due to concealed fastening hardware and installation complexity. However, the superior weather resistance and reduced maintenance often justify higher initial investment for properties requiring maximum longevity.
Labor represents a significant portion of total project costs. Experienced crews work more efficiently and produce higher quality results than inexperienced installers, but charge appropriate rates reflecting their expertise. Insurance considerations may cover portions of steel roof installation following storm damage, making professional documentation and accurate scoping essential for claim success.
Complex roof geometries with numerous valleys, dormers, penetrations, and transitions increase installation time and material waste. These factors appropriately increase project costs but shouldn't compromise quality. Detailed proposals breaking down costs by component help property owners understand pricing and compare contractor bids fairly.
Proper steel roof installation delivers exceptional return on investment through decades of reliable service, minimal maintenance requirements, and potential energy savings. The material's durability, fire resistance, and weather performance protect building contents and occupants while reducing long-term ownership costs compared to alternatives requiring frequent replacement.
Steel roof installation represents a significant investment that demands careful planning, quality materials, and skilled workmanship to deliver optimal long-term performance. Understanding the critical installation phases, potential challenges, and industry best practices helps property owners make informed decisions and set realistic expectations. Whether you're planning a commercial reroof or residential upgrade in the Fort Worth area, Texcore Construction brings the in-house expertise, licensed crews, and proven processes needed to complete your steel roofing project with precision and accountability from initial inspection through final warranty activation.